

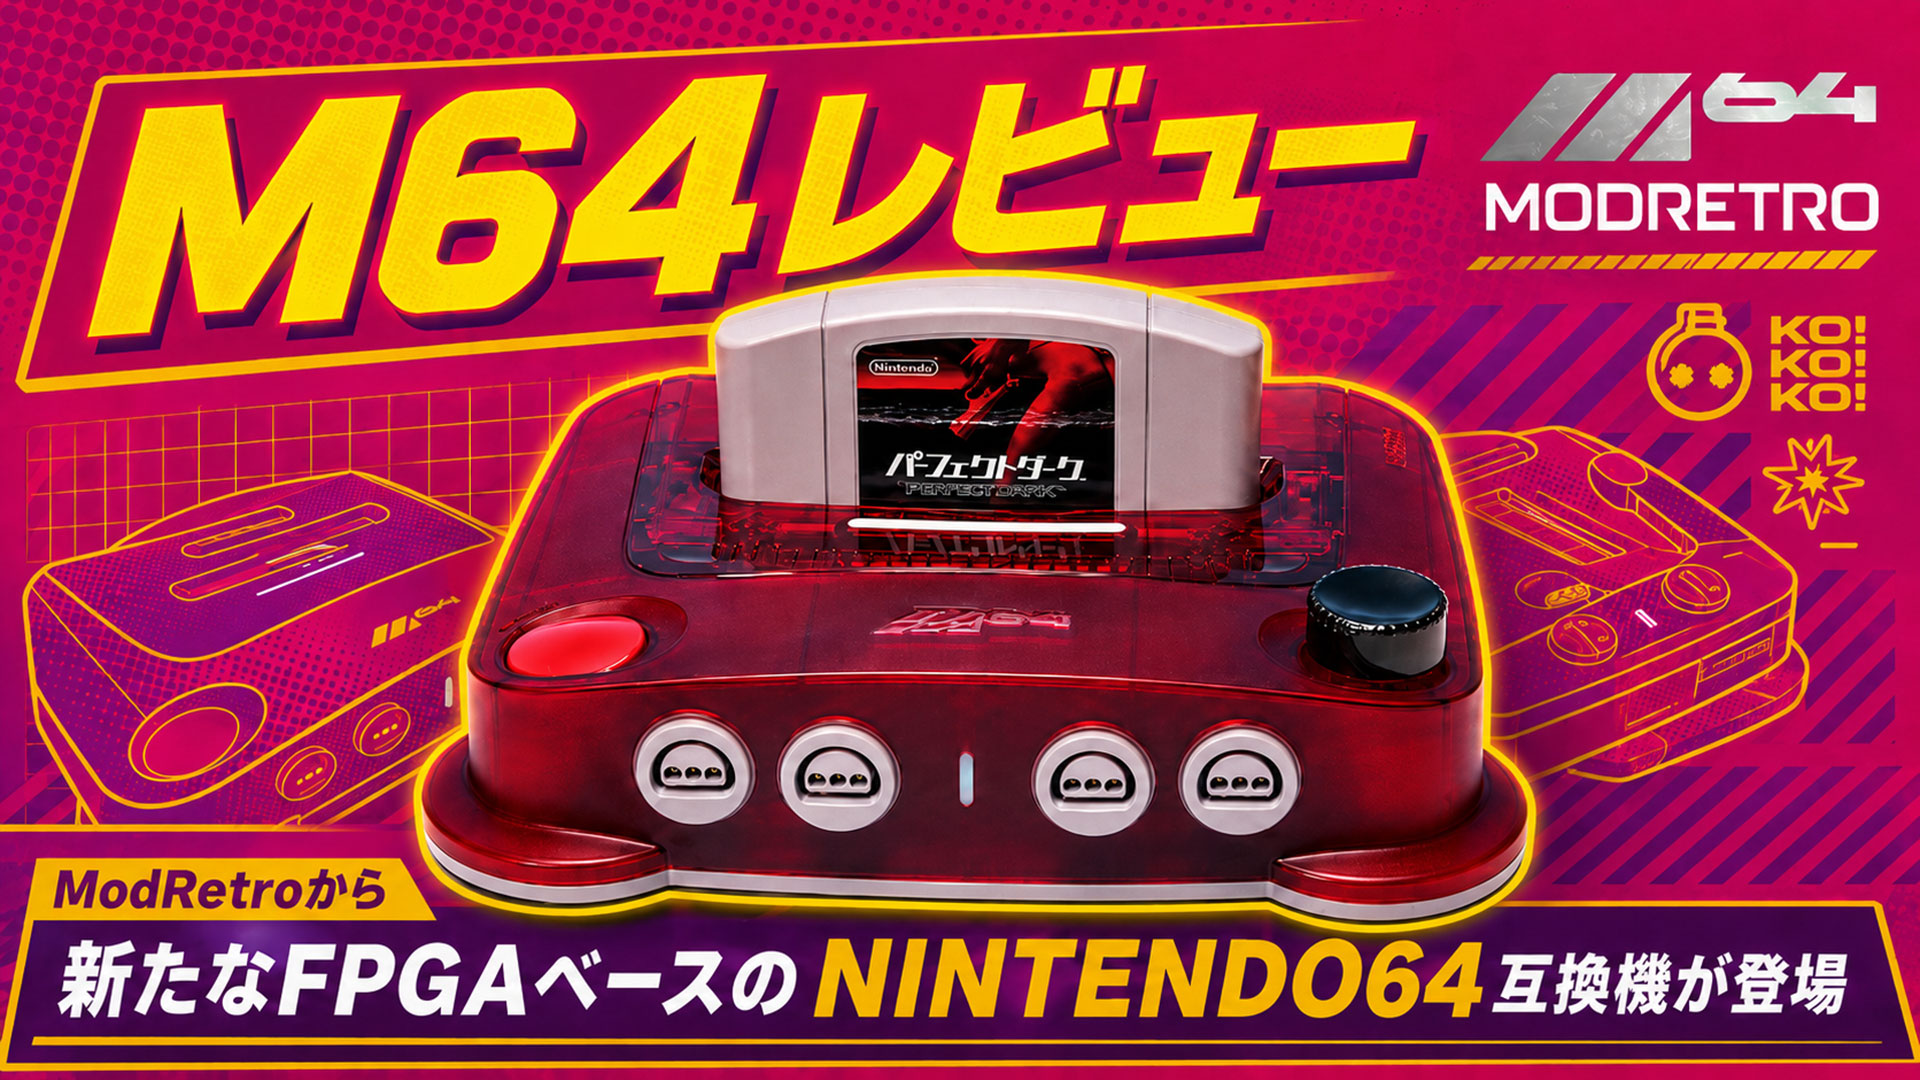
ModRetro’s M64 has attracted plenty of attention as a potential rival to the Analogue 3D. Built around AMD’s 16nm Artix UltraScale+ FPGA, the console is designed to play original Nintendo 64 cartridges on modern televisions while recreating the original hardware as accurately as possible.
ModRetro M64 Official Website
https://modretro.com/products/m64
In addition to being region-free, the M64 includes built-in Expansion Pak functionality. A system-level Controller Pak feature was still scheduled for a future firmware update at the time of testing.
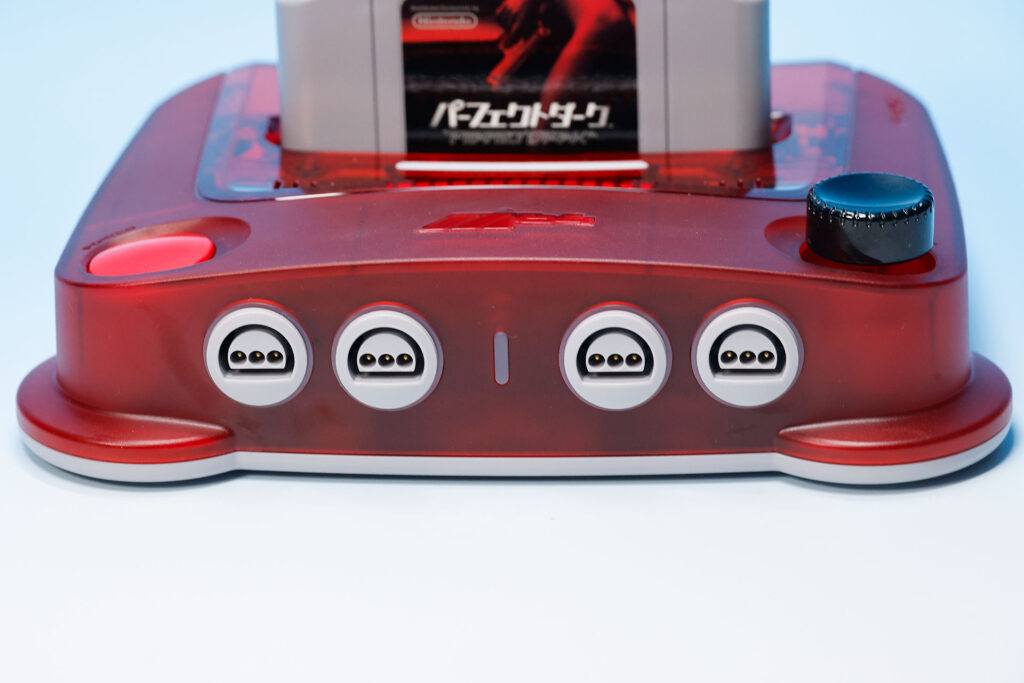
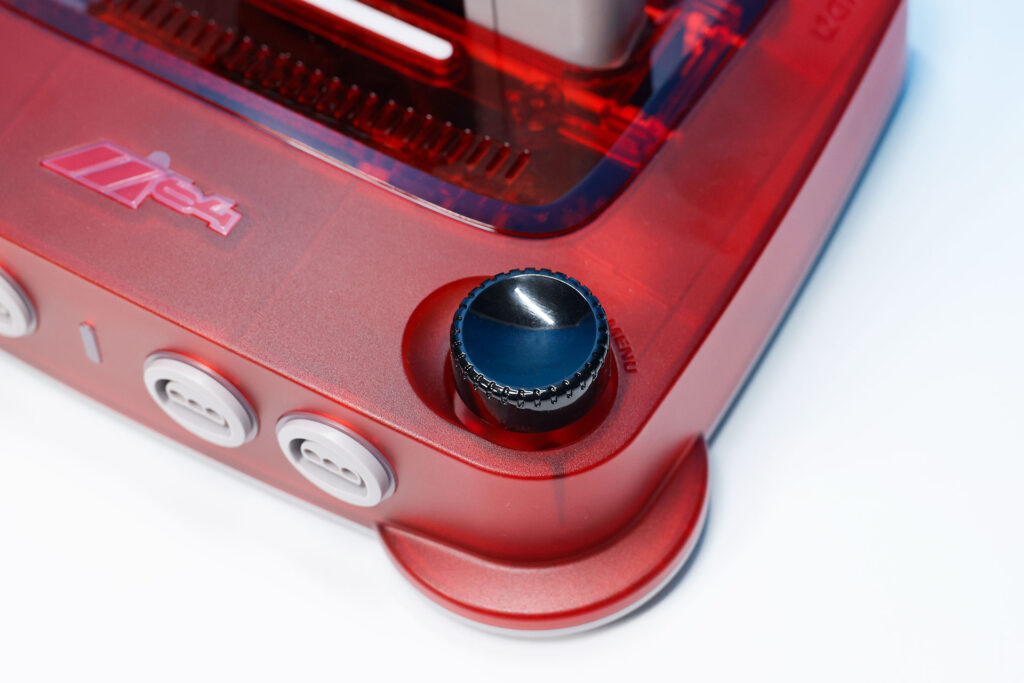
The console also supports original Nintendo 64 controllers, allowing players to recreate the feel of the original system while benefiting from modern hardware. Its transparent shell, illuminated cartridge slot, and other distinctive design elements also give it the unmistakable ModRetro look.
Orders opened in Japan late on July 29, and my console arrived on August 1. Considering that it had been shipped internationally, the delivery was surprisingly fast.
The M64 is officially priced at $229.99 in the United States. The M64 Pro Controller, which launched alongside the console, costs an additional $89.99, so I decided not to purchase one this time.
After spending some time testing the console’s performance, features, menus, controllers, and accessories, here is my full review of the ModRetro M64.
Main Specifications and Console Design
At the heart of the M64 is an AMD Artix UltraScale+ FPGA manufactured using a 16nm process.
It cannot be compared directly with the Intel Cyclone 10 FPGA used in the Analogue 3D, since the chips come from different manufacturers and use different architectures. However, both consoles share the same fundamental goal: recreating the Nintendo 64’s circuitry on an FPGA to deliver performance that closely resembles the original hardware.
The M64’s firmware can be updated over Wi-Fi or by using the included microSD card.
Four color options are available: Clear, Purple, Green, and Red. Every version features a semi-transparent shell that exposes the internal hardware.
It is important to note that the console does not include a controller or an HDMI cable, so both must be supplied separately.
| Specification | Details |
|---|
| FPGA | 16nm AMD Artix UltraScale+ FPGA |
| Colors | Clear, Purple, Green, Red |
| Wireless | Wi-Fi, Bluetooth SCI |
| Audio | 48kHz, 16-bit PCM audio |
| Supported cartridges | Original Nintendo 64 cartridges and M64 cartridges |
| Region support | Region-free: NTSC and PAL |
| Controller | Sold separately |
| Controller ports | Four Nintendo 64-compatible ports |
| Expansion features | Built-in Expansion Pak functionality; system-level Controller Pak support was planned for a future update at the time of testing |
| Connections | HDMI, three USB ports, microSD card slot |
| Dimensions | Approximately 8.5 × 6.5 × 2.2 inches / 216 × 165 × 56mm |
| Weight | Approximately 1.6 pounds / 726g |
| Price | $229.99 |
The front of the console features four controller ports shaped like those found on the original Nintendo 64.
In addition to original Nintendo 64 controllers, the M64 supports the separately sold M64 Pro Controller and compatible controllers from manufacturers including Hyperkin, Retro Fighters, and 8BitDo.
The Nintendo 64 controller sold to Nintendo Switch Online subscribers can also be used, although a separate wireless adapter is required.
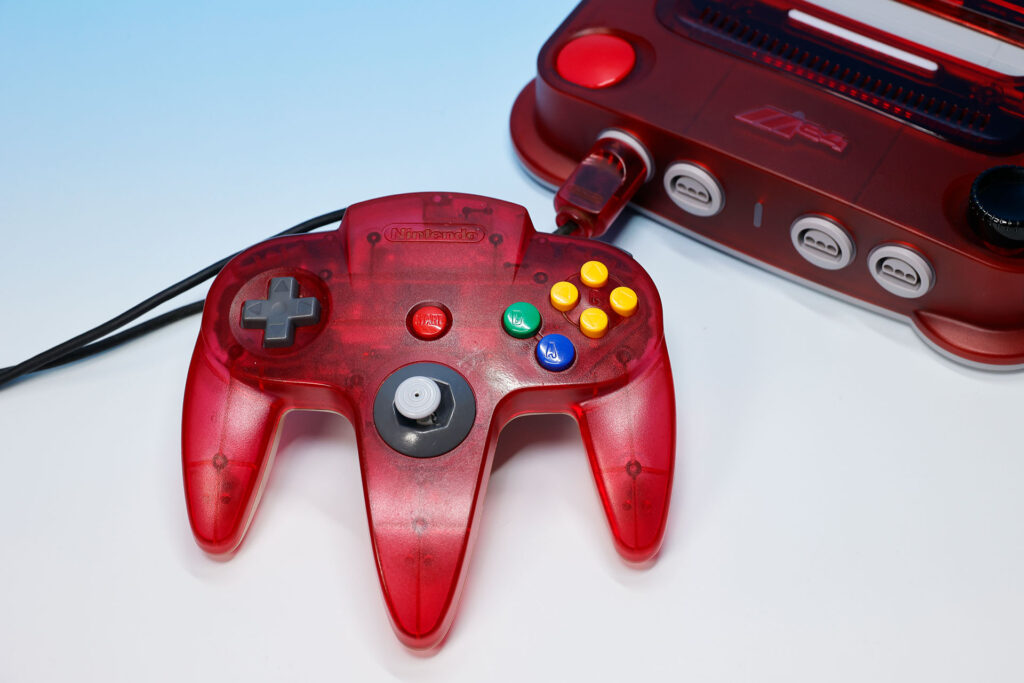
The rear of the console includes a USB power port, HDMI output, two USB accessory ports, and a microSD card slot.
The accessory USB ports can be used for purposes such as charging the M64 Pro Controller. A 16GB microSD card is preinstalled and is used to store the firmware and other system data.
On top of the console are a power button, a physical menu control, and something rarely seen on a Nintendo 64-compatible system: a cartridge eject button.
There is also a latch that holds the cartridge-slot flaps open, making it easier to clean the connector. An LED beneath the cartridge slot illuminates the cartridge label, and its brightness can be adjusted through the system settings.

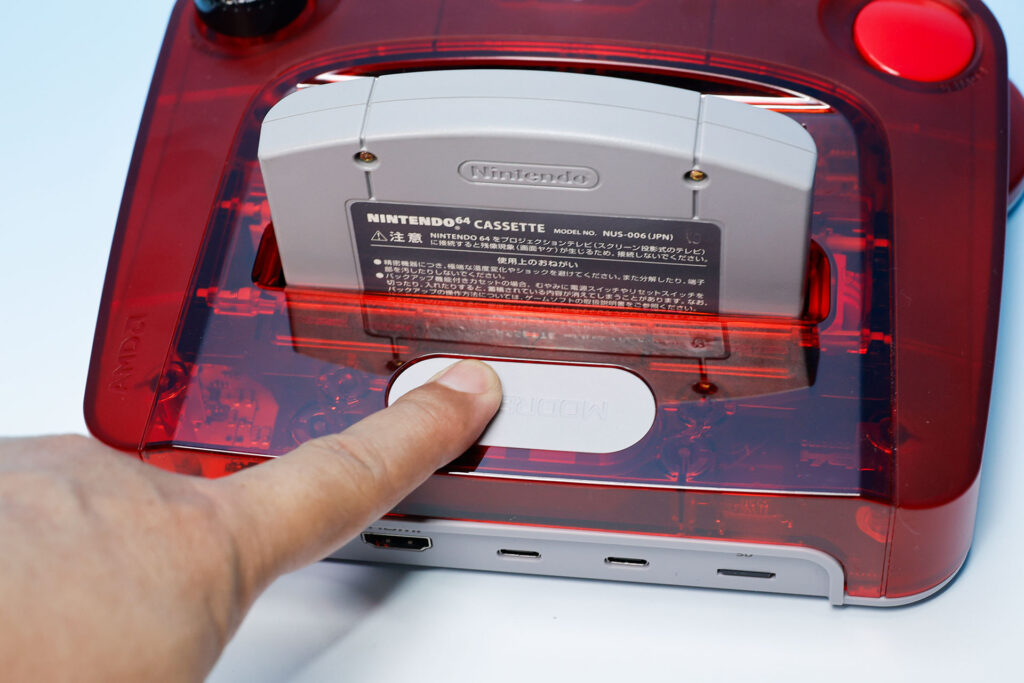

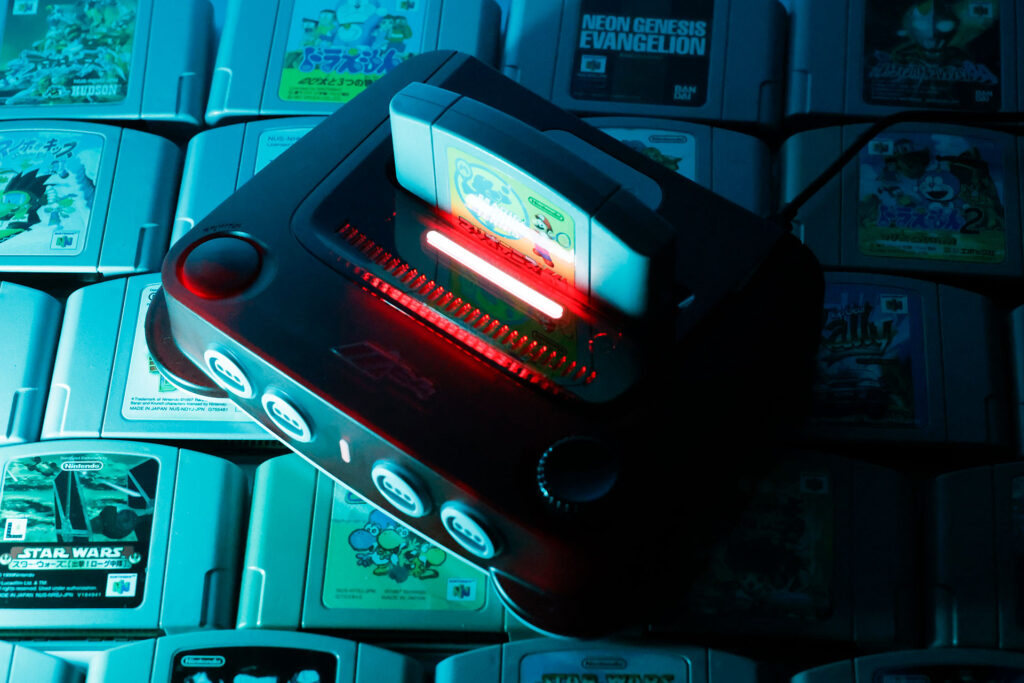

There is no expansion connector on the bottom of the M64. As a result, the original 64DD cannot be connected directly.
For playing 64DD software, devices such as the SummerCart64 or the recently released EverDrive-64 PRO will likely be the more practical options.
●SummerCart64(Amazon Japan)
https://amzn.to/3RtiNrt
●EverDrive-64 PRO
https://krikzz.com/our-products/cartridges/everdrive-64-pro.html
For this review, I only tested the SummerCart64. Its standard Nintendo 64 games launched and played without any obvious problems.
A Simple Menu That Is Easy to Understand
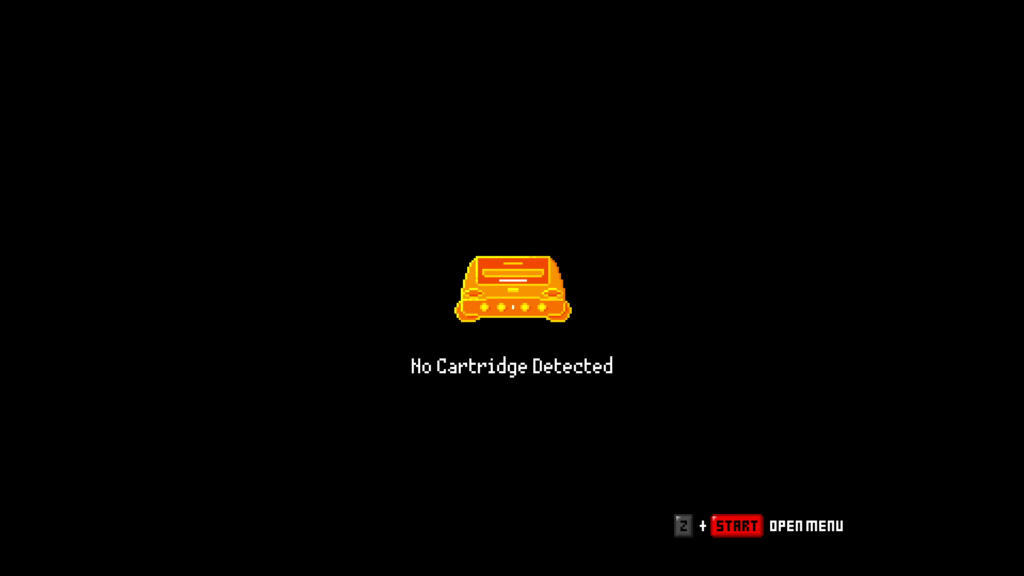
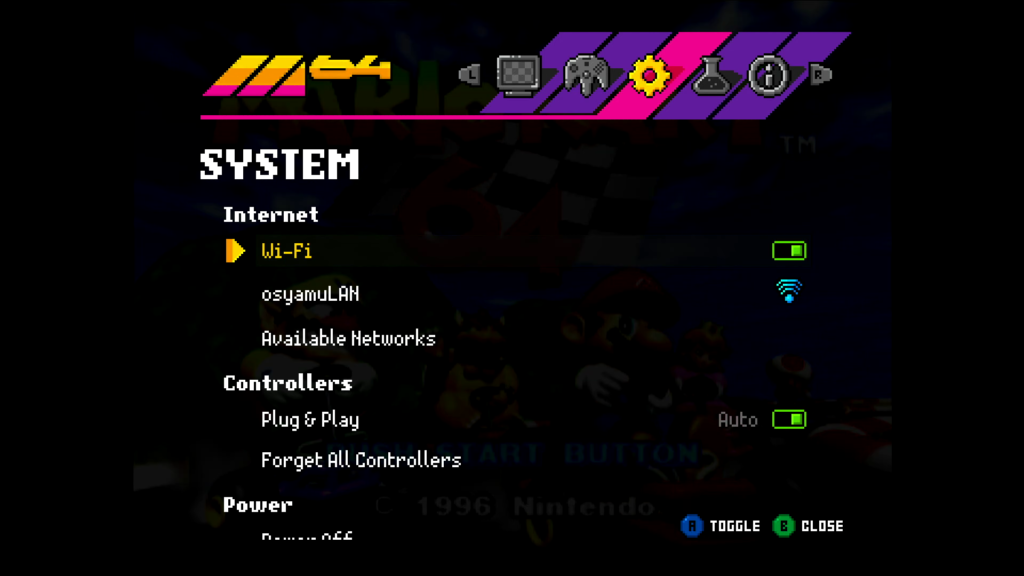
When the M64 is powered on without a cartridge inserted, the screen asks the player to insert one and displays the shortcut used to open the system menu.
The menu can be opened by holding down the physical menu control on the console or by pressing the Z and Start buttons simultaneously on a controller.
The menu is divided into five sections:
- Display
- Controller
- System
- Experimental
- About
When using the console for the first time, it is a good idea to configure Wi-Fi under System and then check for a firmware update under About.
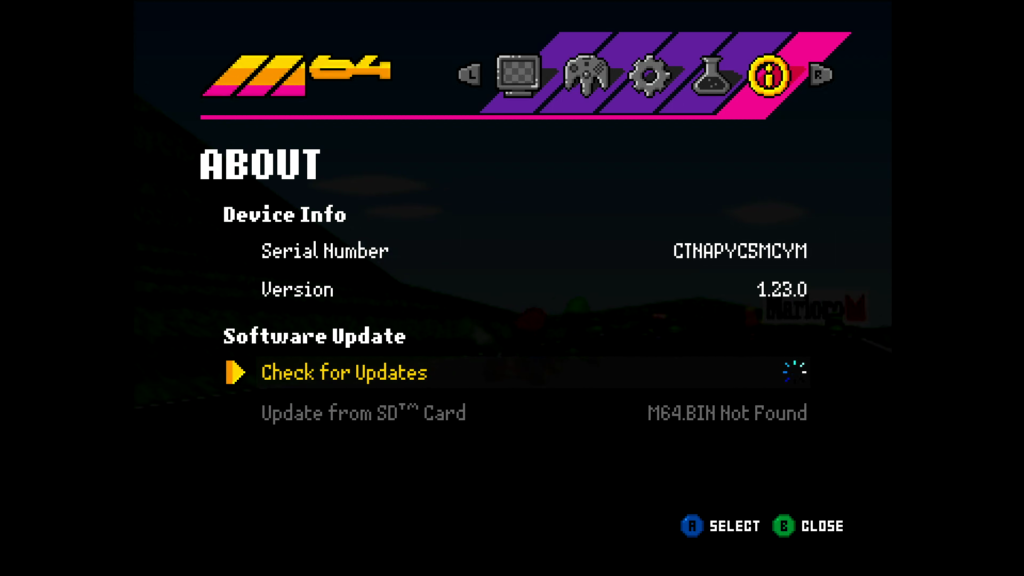
The System menu also provides options for powering off the console and restarting the FPGA core.
At the time of testing, overclocking was the only usable feature in the Experimental menu. The menu also displayed several functions that are expected to be added in future updates.
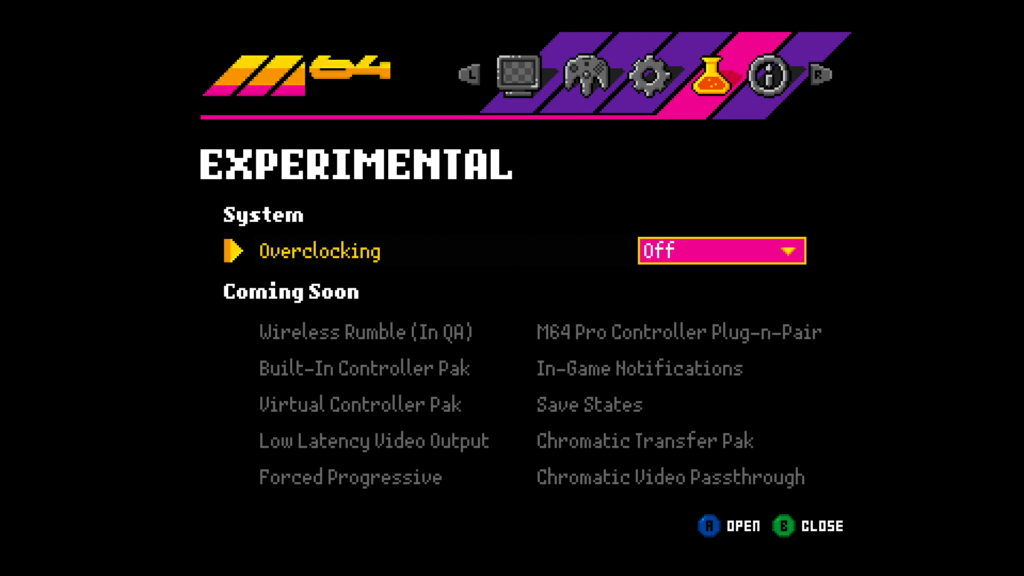
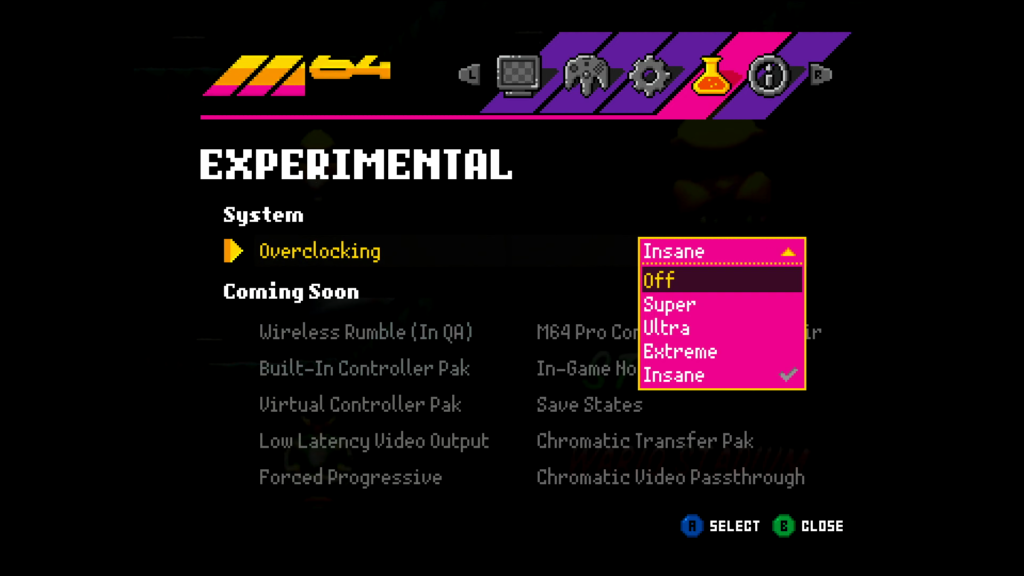
Overclocking can be adjusted across five levels, including the Off setting.
For example, the SummerCart64 can run a Sega Master System emulator. Performance was quite slow with overclocking disabled, but enabling it produced a modest improvement.
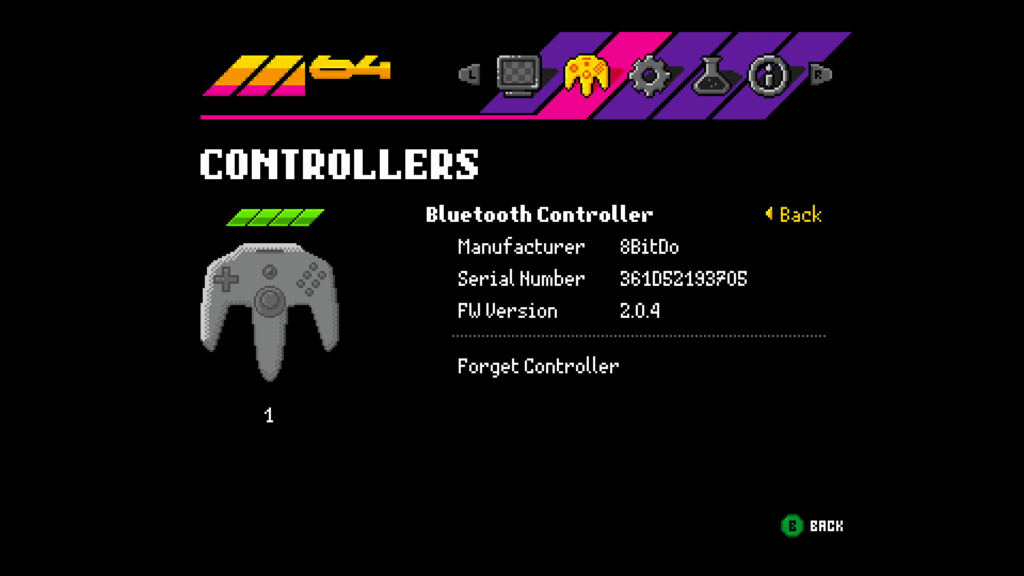
The Controller menu is used to pair wireless controllers. For supported wireless devices, it can also display information such as the controller’s current firmware version.
Unfortunately, there were no configuration options for accessories such as the Controller Pak.

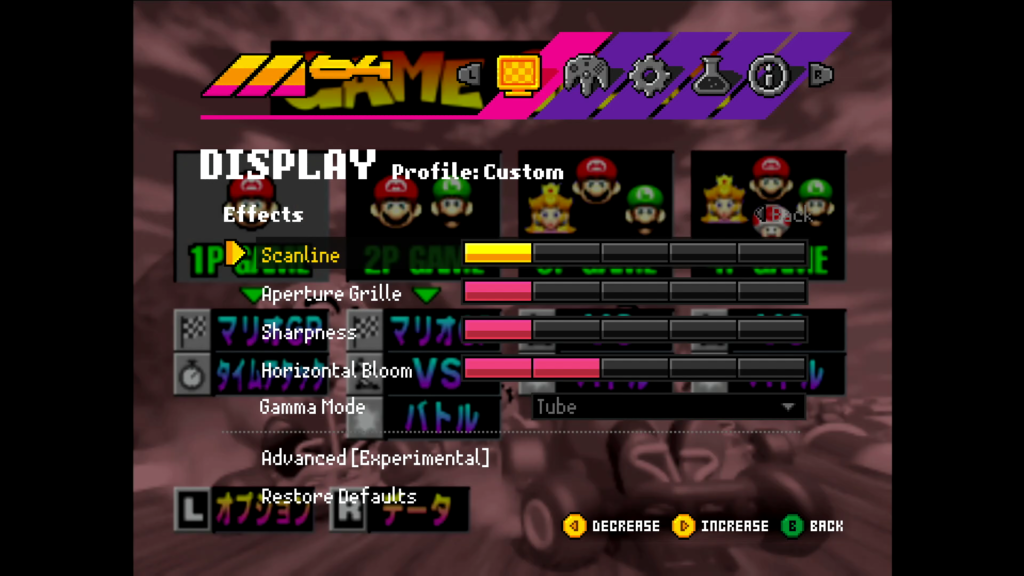
The Display menu contains the system’s video settings. The selection is relatively simple, but it covers the most important options.
Under Profile, players can choose between the standard image, scanlines, and a CRT-style filter. Selecting Custom provides access to more detailed adjustments.

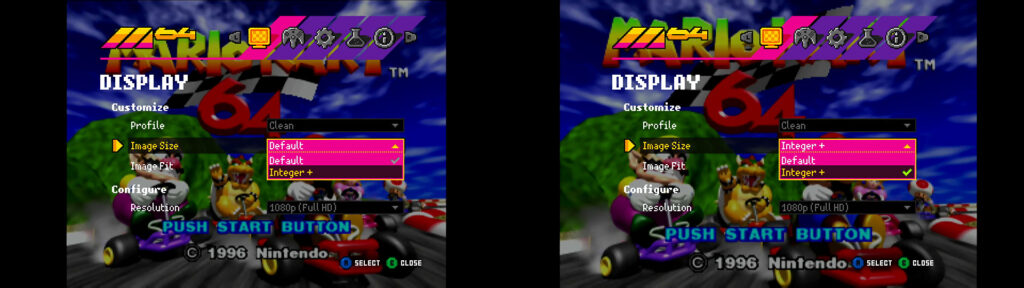
Changing Image Size from its default setting to Integer+ scales the image using a nearest-neighbor filter, preventing the softened edges that can appear with other scaling methods.
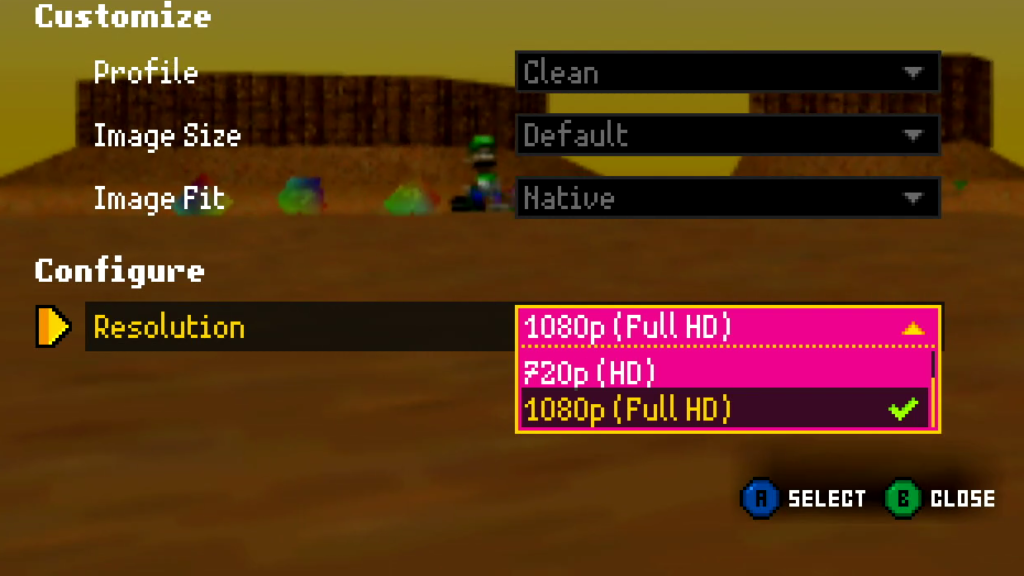
Selecting Stretch under Image Fit expands the picture horizontally to fill the display. The output resolution can also be changed through the Resolution setting.

Peripheral Support Still Needs Improvement
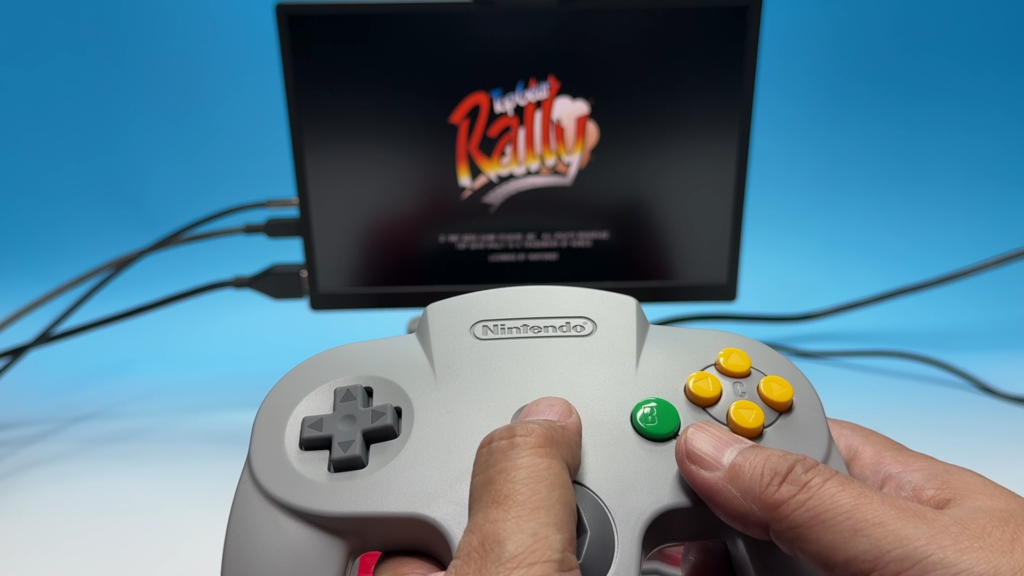
Although the M64 had only just launched at the time of this review, one of its biggest weaknesses was its support for accessories connected through a controller.
This also appeared to affect the M64 Pro Controller. When using a wireless controller, neither Controller Pak functionality nor rumble was available during my testing.
By comparison, an original Nintendo 64 controller connected directly to the console worked correctly with both a physical Controller Pak and a Rumble Pak.
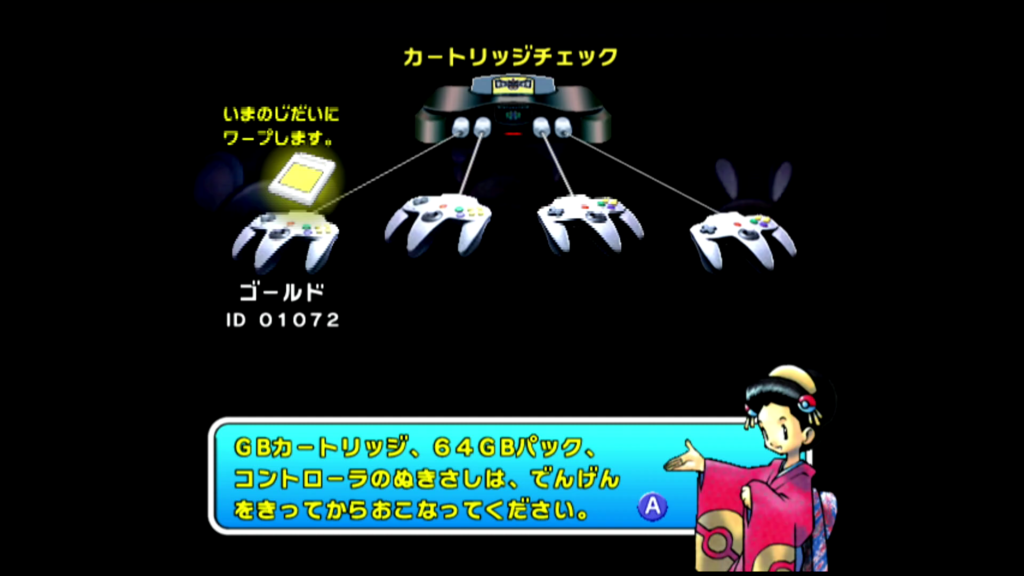
Another officially supported accessory is the Transfer Pak, known as the 64GB Pak in Japan.
This accessory connects Game Boy games to compatible Nintendo 64 titles. I tested it with the Japanese version of Pokémon Stadium 2 and a copy of Pokémon Yellow, and the Game Boy cartridge was detected correctly.

One accessory that did not work at all was the Voice Recognition Unit, or VRU, which was sold as the VRS Unit in Japan.
This voice-recognition accessory was used by only a small number of games, including Hey You, Pikachu! and the Japanese-exclusive Densha de Go! 64.
I attempted to test it with Hey You, Pikachu!, but the M64 did not recognize the accessory when it was connected to the controller port. Unfortunately, it appears to be unsupported for now.

The 8BitDo 64 Bluetooth Controller that I originally purchased for the Analogue 3D worked correctly with the M64.
However, as mentioned earlier, Controller Pak functionality and rumble were unavailable over the wireless connection at the time of testing.

The wireless Nintendo 64 controller sold to Nintendo Switch Online subscribers cannot be connected directly to the M64.
However, it can be used by connecting an adapter such as a BlueRetro wireless controller converter to one of the console’s controller ports.

When a controller is connected, the illuminated ring around the corresponding controller port lights up.

The ring turns purple for a wireless connection and white for a wired connection, making it easy to tell how each controller is connected.
Some Nintendo 64 games require the Expansion Pak. The M64 enables its built-in equivalent automatically, so there is no need for the player to change any settings.
In other words, most games can simply be inserted and played without worrying about whether they require the original expansion hardware.
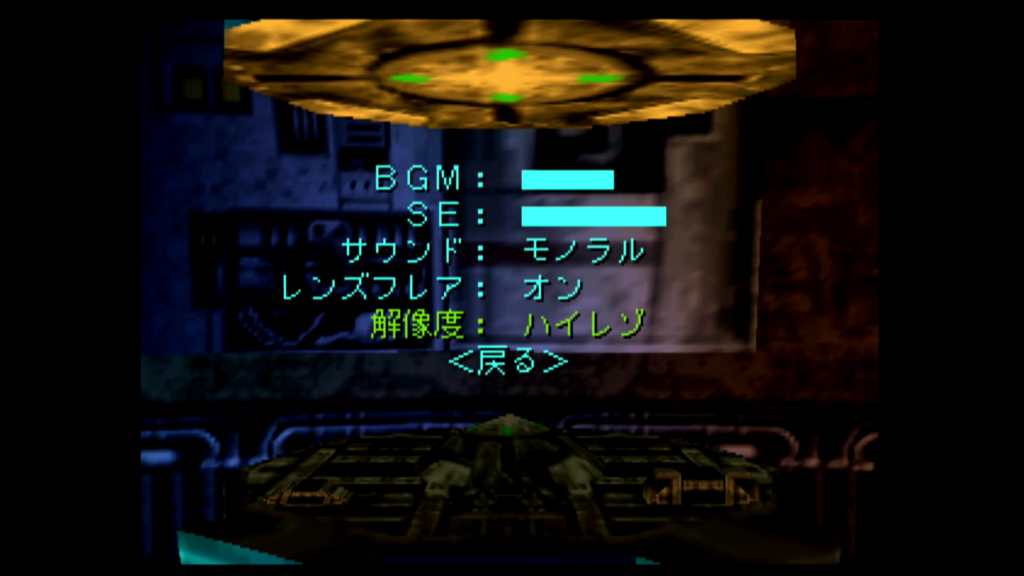
On original Nintendo 64 hardware, the Expansion Pak also allowed certain games to use higher-resolution display modes. These modes are available on the M64 as well.
The improvement is not always dramatic, however, so it may be worth testing the option with several different games.
A Well-Built Console Despite Bugs and Missing Features
In addition to the peripheral limitations mentioned above, some games still experience compatibility problems.
ModRetro publishes an official M64 compatibility database that allows users to check games with known issues. At the time of writing, however, the database focused on North American NTSC releases and did not include Japanese titles.
M64 Compatibility Database
https://modretro.com/pages/m64-compatibility
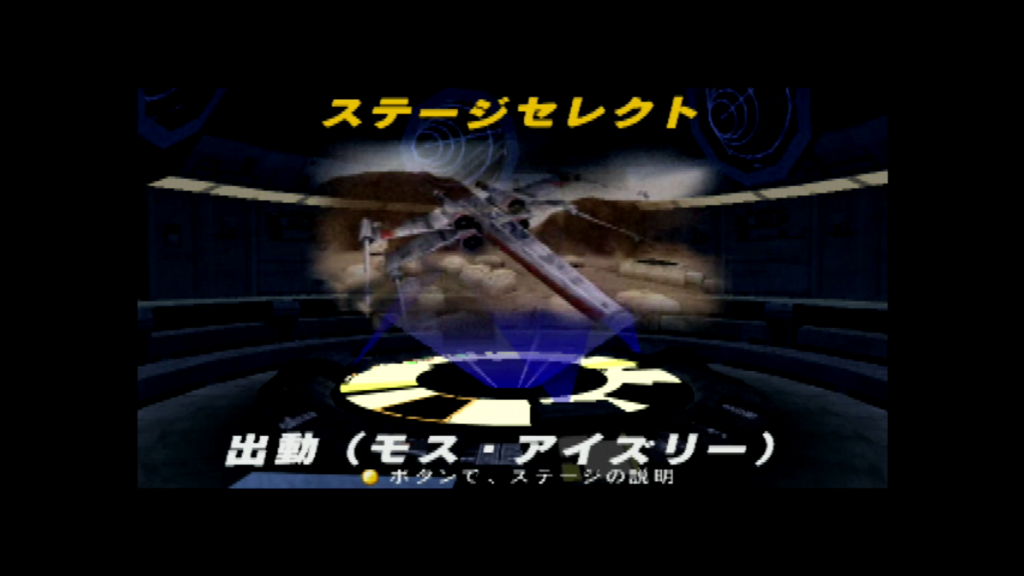
I tested several games mentioned in the compatibility database.
First, Star Wars: Rogue Squadron froze partway through the game.
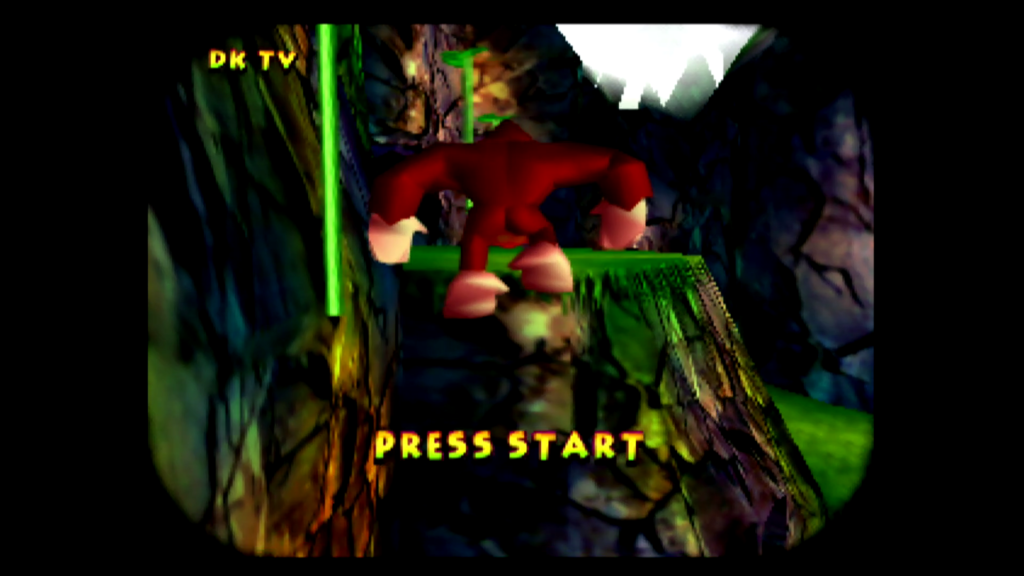
The compatibility notes for Donkey Kong 64 also stated that Donkey Kong repeatedly fails during the tightrope sequence in the attract-mode demonstration. I tested it myself and confirmed that he failed every time.
Alongside these game-specific problems, important features such as the system-level Controller Pak implementation were still incomplete at the time of testing.
Hopefully, these issues will be addressed through firmware updates as soon as possible.
Despite those shortcomings, the M64 itself feels like a well-designed and impressively constructed piece of hardware. Its simple setup, support for original cartridges and controllers, region-free operation, built-in Expansion Pak functionality, and distinctive transparent design make it an appealing modern alternative to an original Nintendo 64.
Taking both its current condition and its potential for future improvements into account, my final rating is:
★★★★☆ — 4 out of 5
![[Review] Roguecraft GB Is a Fantastic Pure-Fantasy Roguelike for the Game Boy Color](https://retro-gamer.jp/sub/wp-content/uploads/2026/08/20260210_212849.MOV_000000816-485x273.jpg)



 PCエンジン mini
 HYPERKIN SUPABOY HYPER BEACH
 メガドライブミニ
 【懐かしいゲームボーイを大画面でプレイ】Hyperkin RetroN Sq: HD Gaming Console (カラー:ハイパービーチ/Hyper Beach) For Game Boy®/Game Boy Color®/Game Boy Advance® [432428]
 レトロフリーク (レトロゲーム互換機) (コントローラーアダプターセット) コントローラー+1個 ( SFCカラー )
 ドクターペッパー クラブマルチ 350ml缶×10缶
コメントを残す